Free Stylish Crochet Shirt Pattern even Beginners Can Make
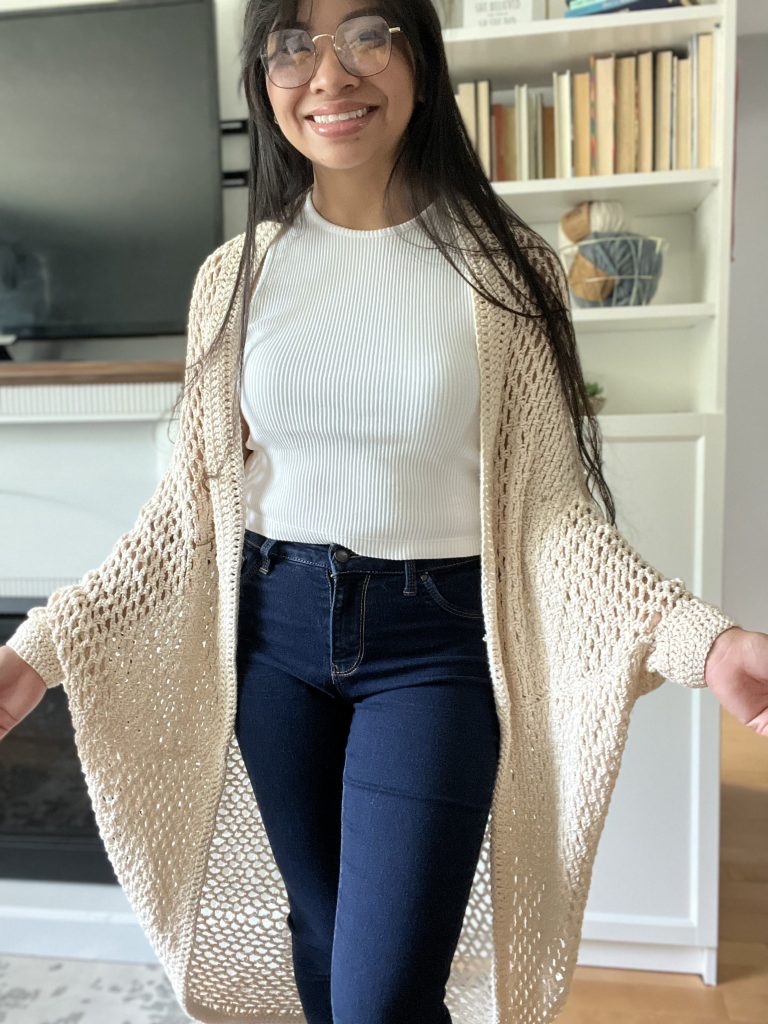
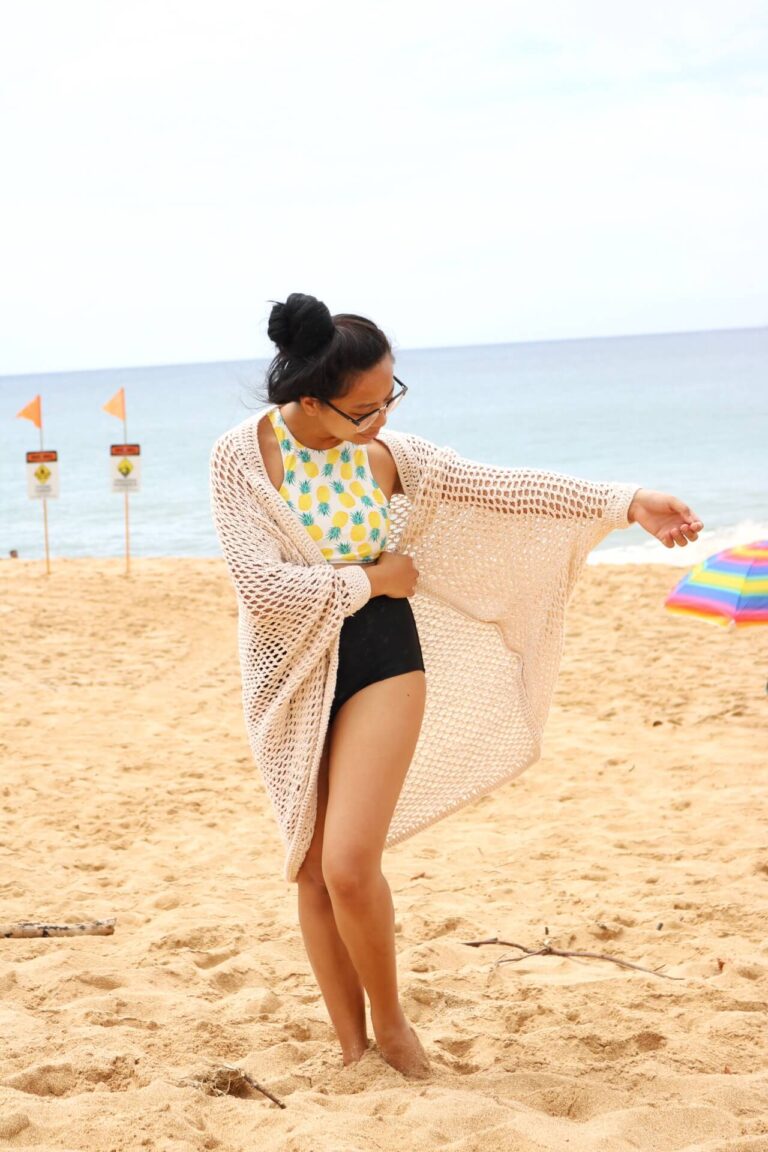
Aloha makers! It is time for a fresh crochet pattern! During spring I showcased three new designs that I made during quarantine, among these is the Siffleur Top. The Siffleur Top is a beginner level crochet top which features a box silhouette and an open back.
Note: This post contains affiliate links.
See more crochet top patterns in this list I curated filled with trendy:
I love box tops because they compliment my body type so well! Where are my Apple body babes here?! Hey girl I see you! If you are into box tops like me, you may like the Pine Creek Box Top, see it here and read about the series it is in over at this post.
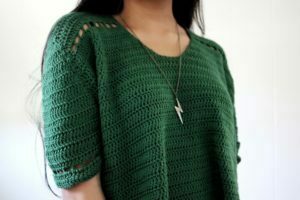
The crochet pattern is flattering all around and is a mixture of all my favorite things in a top (over sized and exposed back).
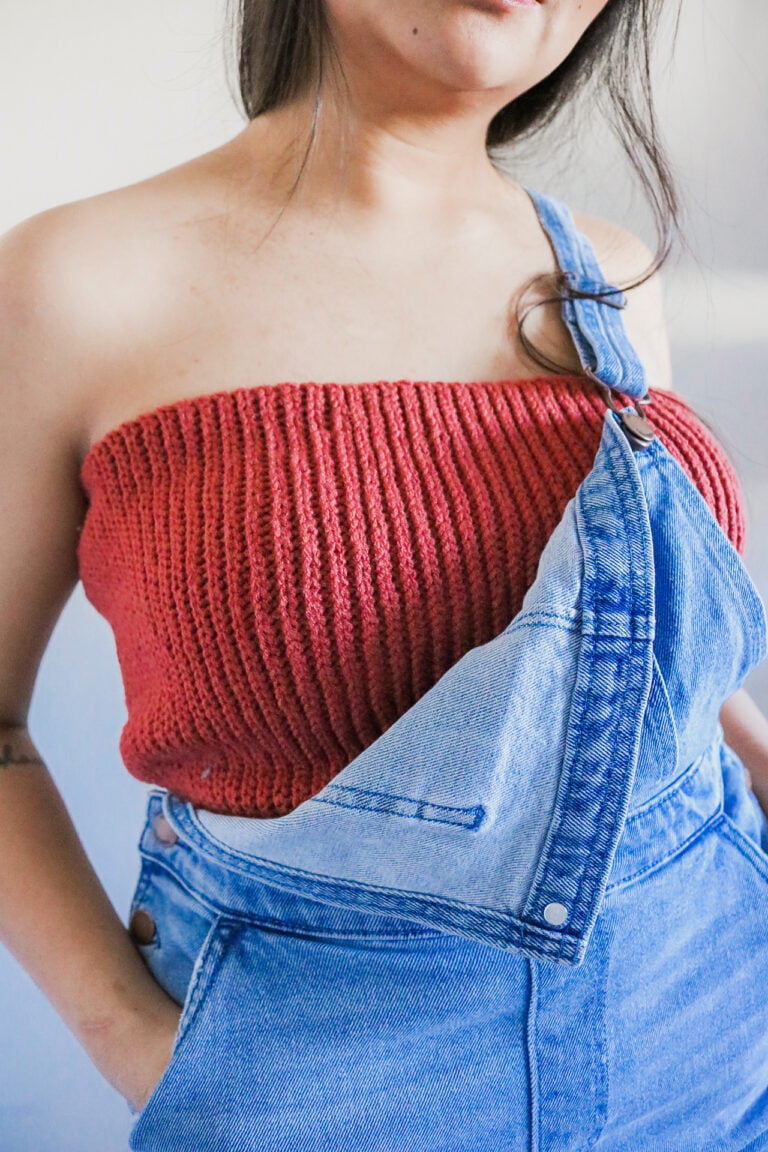
During quarantine I dug into my stash of yarn. For the Siffleur Top I used my Rico Baby yarn in Mauve. This yarn is from LoveCrafts, to check out the yarn (click here). A lot of my stash yarn are perfect for warmer weather from hording lightweight yarn while I was still in Hawaii.
The Siffleur Top is named after Siffleur Falls. I love naming pieces after places I have been! Siffleur Falls is an easy 2hour hike located in Clearwater County. On the way to the majestic falls you cross a suspension bridge. The design in this top highlights an open back with a “bridge” piece on the nape portion keeping the wide back together.

The work up of this crochet pattern is insanely easy! For the pattern you are going to need DK weight yarn and a 3.5mm crochet hook.
Find the inexpensive add free PDF pattern for the Siffleur Top Here.
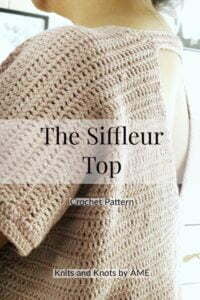
The Siffleur Top
The top is made in panels. This means you are going to be working in rows. First we start with the front panel. Note, the pattern is written in sizes XS, S, M, L, XL respectively.
Front Panel
Ch 81, 99, 117, 135, 153
You can also opt to begin with a foundation chain. In this instance you can start by creating a foundation chain of 80, 98, 116, 134, 152 in dc then continue to row 2.
R1: dc into third ch from the hook (this creates the 1st and second sts of the row), dc until end of the row (80, 98, 116, 134, 152 sts)
R2-25: ch 2, dc into every stitch until end of the row (80, 98, 116, 134, 152 sts)
This marks the end of the body and now we are going to start with the neckline. For the neckline we are just going to decrease one st each row from the midline by crocheting two double crochets together.
R26: ch 2, dc into next 38, 46, 56, 65, 74 sts, dc2tog (39, 47, 57, 66, 75 sts)
R27: dc2tog, dc into next 37, 45, 55, 64, 73 sts (38, 46, 56, 65, 74 sts)
R28: ch 2, dc into next 36, 44, 54, 63, 72 sts, dc2tog (37, 45, 55, 64, 73 sts)
R29: dc2tog, dc into next 35, 43, 53, 62, 71 sts (36, 44, 54, 63, 72 sts)
R30: ch 2, dc into next 34, 42, 52, 61, 70 sts, dc2tog (35, 43, 53, 62, 71 sts)
R31: dc2tog, dc into next 33, 41, 51, 60, 69 sts (34, 42, 52, 61, 70 sts)
R32: ch 2, dc into next 32, 40, 50, 59, 68 sts, dc2tog (33, 41, 51, 60, 69 sts)
R33: dc2tog, dc into next 31, 39, 49, 58, 67 sts (32, 40, 50, 59, 68 sts)
R34: ch 2, dc into next 30, 38, 48, 57, 66 sts, dc2tog (31, 39, 49, 58, 67 sts)
R35: dc2tog, dc into next 29, 37, 47, 56, 65 sts (30, 38, 48, 57, 66 sts)
R36: ch 2, dc into next 28, 36, 46, 55, 64 sts, dc2tog (29, 37, 47, 56, 65 sts)
R37: dc2tog, dc into next 27, 35, 45, 54, 63 sts (28, 36, 46, 55, 64 sts)
R38: ch 2, dc into next 26, 34, 44, 53, 62 sts, dc2tog (27, 35, 45, 54, 63 sts)
XS:
R39-43: ch 2, dc into each st until end of the row (27 sts per row)
Fasten off. Repeat from R26 on opposite side.
R39: dc2tog, dc into next 33, 43, 52, 61 sts (34, 44, 53, 62 sts)
Small:
R40 – 44: ch 2, dc into each st until end of the row (34 sts per row)
Fasten off. Repeat from R26 on opposite side.
R40: ch 2, dc into next 42, 51, 60 sts, dc2tog (43, 52, 61 sts)
Medium:
R41-45: ch 2, dc into each st until end of the row (43 sts per row)
Fasten off. Repeat from R26 on opposite side.
R41: dc2tog, dc into next 50, 59 sts (51, 60 sts)
Large:
R42 – 46: ch 2, dc into each st until end of the row (51 sts per row)
Fasten off. Repeat from R26 on opposite side.
R42: ch 2, dc into next 58 sts, dc2tog (59 sts)
R43-47: ch 2, dc into each st until end of the row (59 sts per row)
Fasten off. Repeat from R26 on opposite side.
Now we move on to the back panel. Being a box top, the panels are very similar. you are going to repeat the front panel up until row 38 and continue with these instructions: (for the detailed pattern, feel free to purchase the digital download here)
XS:
R39-40: ch 2, dc into each st until end of the row (27 sts per row)
Fasten off. Repeat from row 26 on opposite side and continue pattern below:
R41: ch 2, dc into each st until end of the row, ch 26, dc into next stitch across neckline, dc into each st until the end (54 sts, 26 ch)
R42: ch 2, dc into next 27 sts, dc into each ch, dc into each st until end of the row (80 sts)
R43: ch 2, dc into each st until end of the row (80 sts)
Fasten off
R39: dc2tog, dc into next 33, 43, 52, 61 sts (34, 44, 53, 62 sts)
Small:
R40-41: ch 2, dc into each st until end of the row (33 sts per row)
Fasten off. Repeat from row 26 on opposite side and continue pattern below:
R42: ch 2, dc into each st until end of the row, ch 30, dc into next stitch across neckline, dc into each st until the end (66 sts, 30 ch)
R43: ch 2, dc into next 33 sts, dc into each ch, dc into each st until end of the row (96 sts)
R44: ch 2, dc into each st until end of the row (96 sts)
Fasten off
R40: ch 2, dc into next 42, 51, 60 sts, dc2tog (43, 52, 61 sts)
Medium:
R41-42: ch 2, dc into each st until end of the row (43 sts)
Fasten off. Repeat from row 26 on opposite side and continue pattern below:
R43: ch 2, dc into each st until end of the row, ch 30, dc into next stitch across neckline, dc into each st until the end (86 sts, 30 ch)
R44: ch 2, dc into next 42 sts, dc into each ch, dc into each st until end of the row (116 sts)
R45: ch 2, dc into each st until end of the row (116 sts)
Fasten off
R41: dc2tog, dc into next 50, 59 sts (51, 60 sts)
Large:
R42-43: ch 2, dc into each st until end of the row (51 sts)
Fasten off. Repeat from row 26 on opposite side and continue pattern below:
R44: ch 2, dc into each st until end of the row, ch 32, dc into next stitch across neckline, dc into each st until the end (102 sts, 32 ch)
R45: ch 2, dc into next 51 sts, dc into each ch, dc into each st until end of the row (134 sts)
R46: ch 2, dc into each st until end of the row (134 sts)
Fasten off
R42: ch 2, dc into next 58 sts, dc2tog (59 sts)
R43-44: ch 2, dc into each st until end of the row (59 sts per row)
Fasten off. Repeat from row 26 on opposite side and continue pattern below:
R45: ch 2, dc into each st until end of the row, ch 34, dc into next stitch across neckline, dc into each st until the end (118 sts, 34 ch)
R46: ch 2, dc into next 59 sts, dc into each ch, dc into each st until end of the row (152 sts)
R47: ch 2, dc into each st until end of the row (152 sts)
Now for the finishing touches! You are nearly there!
Assembly:
- Seam across the shoulders on each side.
- Count 18, 19, 20, 21, 22 rows from the top (where the shoulders were seamed). Attach yarn and seam all the way down. Repeat on the other side.
Finishing:
- Attach yarn to the armpit area. Dc around the armhole two sts per row each. Approximately (72, 76, 80, 84, 88 sts) all around. Slst into top of the first st. Ch 2, dc into each st all around, slst. Fasten off.
- Attach yarn to the neckline (front or back). Sc all around the neckline, slst to first st. Repeat on opposite side.
And there you have it! I would love to see you in your Siffleur Top! Tag me @knitsandknotsbyame on IG.
That’s all for now guys!
Till next time,
Abie